How to do ?

Drive System
Drive Gauge
Both players start each round with 6 bars of Drive Gauge, which can be spent on various offensive, defensive, and movement techniques. When the gauge is not full, it automatically regenerates over time. Drive Gauge management is fundamental to the game's strategy; players with better management will have a huge advantage over those who manage it poorly. It allows for playstyles from slow and conservative to reckless gambling, making the Drive system a vehicle for player self-expression.
Spending meter on Drive moves is not the only way for the gauge to decrease. Blocking attacks will cause some Drive meter to be chipped away. The weakest attacks can chip around 5% of a Drive bar, while some can drain a full bar on their own. This weakens passive, defensive playstyles significantly; defensive-minded players will have to focus more on their positioning, and using techniques like Drive Parry to mitigate this disadvantage. Some attacks like Drive Impact, Super Arts, and any Punish Counter also drain the Drive Gauge when they hit.
| Drive Move | Drive Gauge Cost |
| Drive Impact |  |
| Drive Parry |  (Hold) (Hold) |
| Drive Rush (From Drive Parry) |  |
| Drive Rush (Cancel) | |
| OverDrive (Ex Move) | |
| Drive Reversal | |
Burnout
Burnout state happens when the player's Drive gauge becomes fully depleted. Burnout gives the player several negative effects:
- All blocked attacks have 4 additional frames of blockstun
- This allows for much stronger pressure sequences; many more attacks become safe on block
- Hitstun is not affected, so combo routes remain unchanged on burned out opponents
- Blocking special moves or supers results in Chip Damage equal to 25% of the move's normal damage; can lose the round to Chip K.O.
- Corner Drive Impact wall splat causes Stun on hit or block
- Can no longer use any Drive options until gauge is fully replenished
Being in Burnout creates situations that are extremely difficult to escape, like looping corner sequences that are plus on block. If a cornered player is stunned by Drive impact while in Burnout, their Drive Gauge will be fully replenished after recovering from stun. The usual methods of building Drive Gauge also help decrease the Burnout recovery time. While it may be tempting to play passively while in Burnout, it may actually be more effective to mount a strong offense, as you still gain Drive meter from hitting the opponent. Playing an aggressive, offensive style can also make it harder for the opponent to push you back into the corner, where Burnout becomes much more dangerous.
Drive Impact
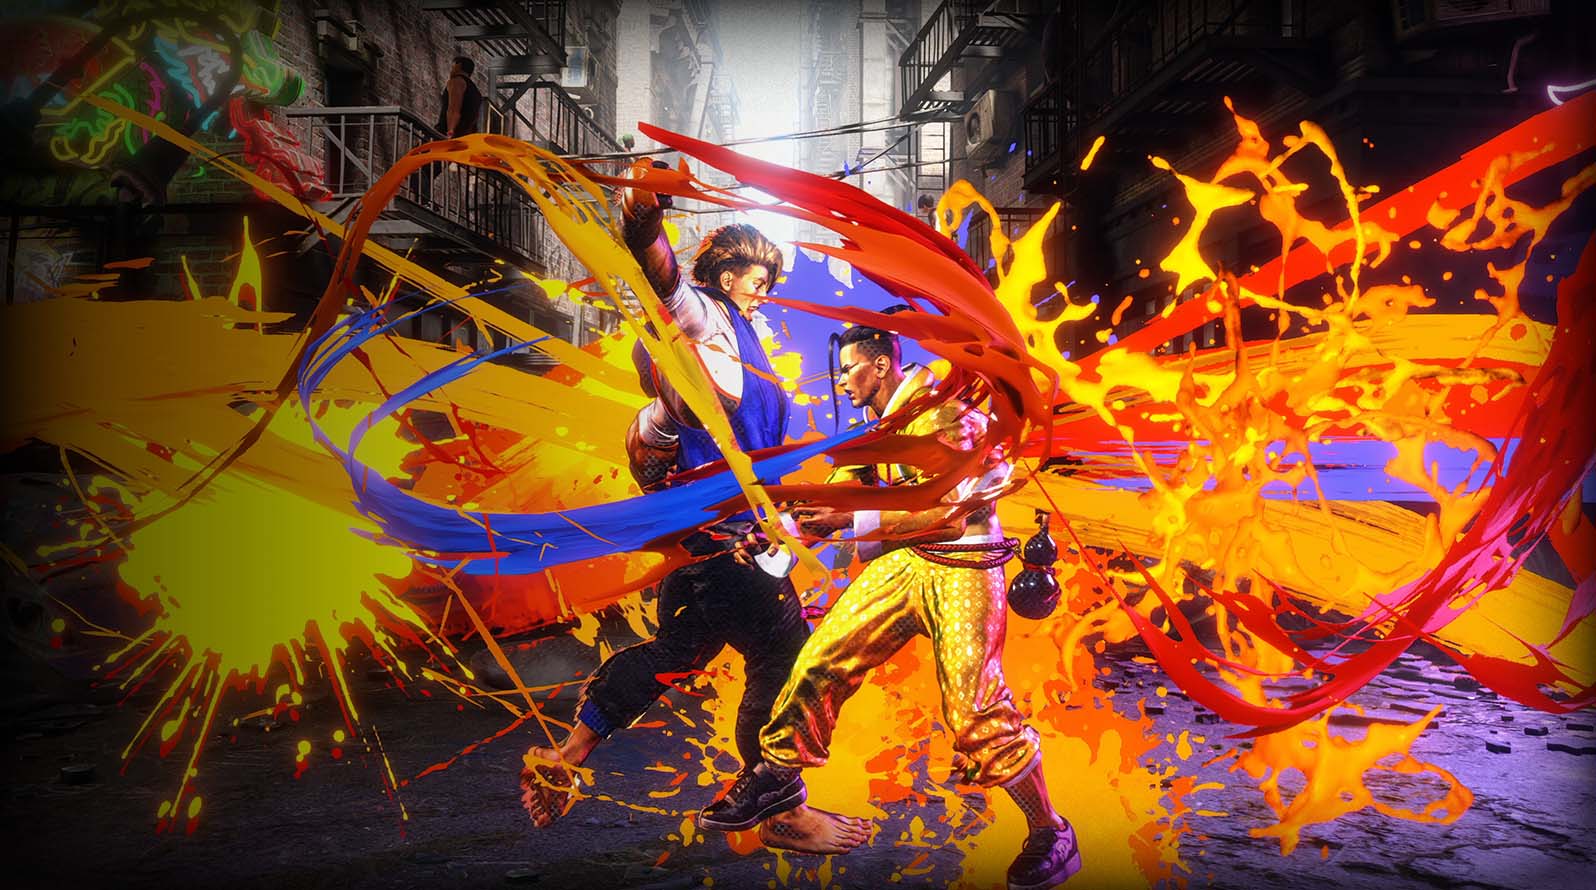
A forward-moving heavy attack that has 2 hits of armor and launches opponents on hit (similar to a Focus Attack), costing the attacker one bar off of the Drive Gauge. The user takes grey health damage for any attack armored which can recover over time, like blocked damage in Street Fighter V. If it armors an attack and hits (or causes a Punish Counter), Drive Impact causes a crumple with a dramatic camera zoom and colorful splashes of paint based off of the fighter's signature colors; if it doesn't armor an attack, it will simply cause a knockdown.
Against blocking opponents, it will deplete part of their Drive gauge and cause them to stumble backwards. If the stumbling opponent is against a wall, it causes a Crush, causing them to slide down the wall for a follow up; aerial opponents are vulnerable for longer since they have to land on the ground. Crushing a fighter in Burnout causes stun. Drive Impacts have high startup and can be reacted to, and they can be countered with another Drive Impact, a throw, or a Drive Parry. If two Drive Impacts clash, they will cancel each other out.
Drive Parry
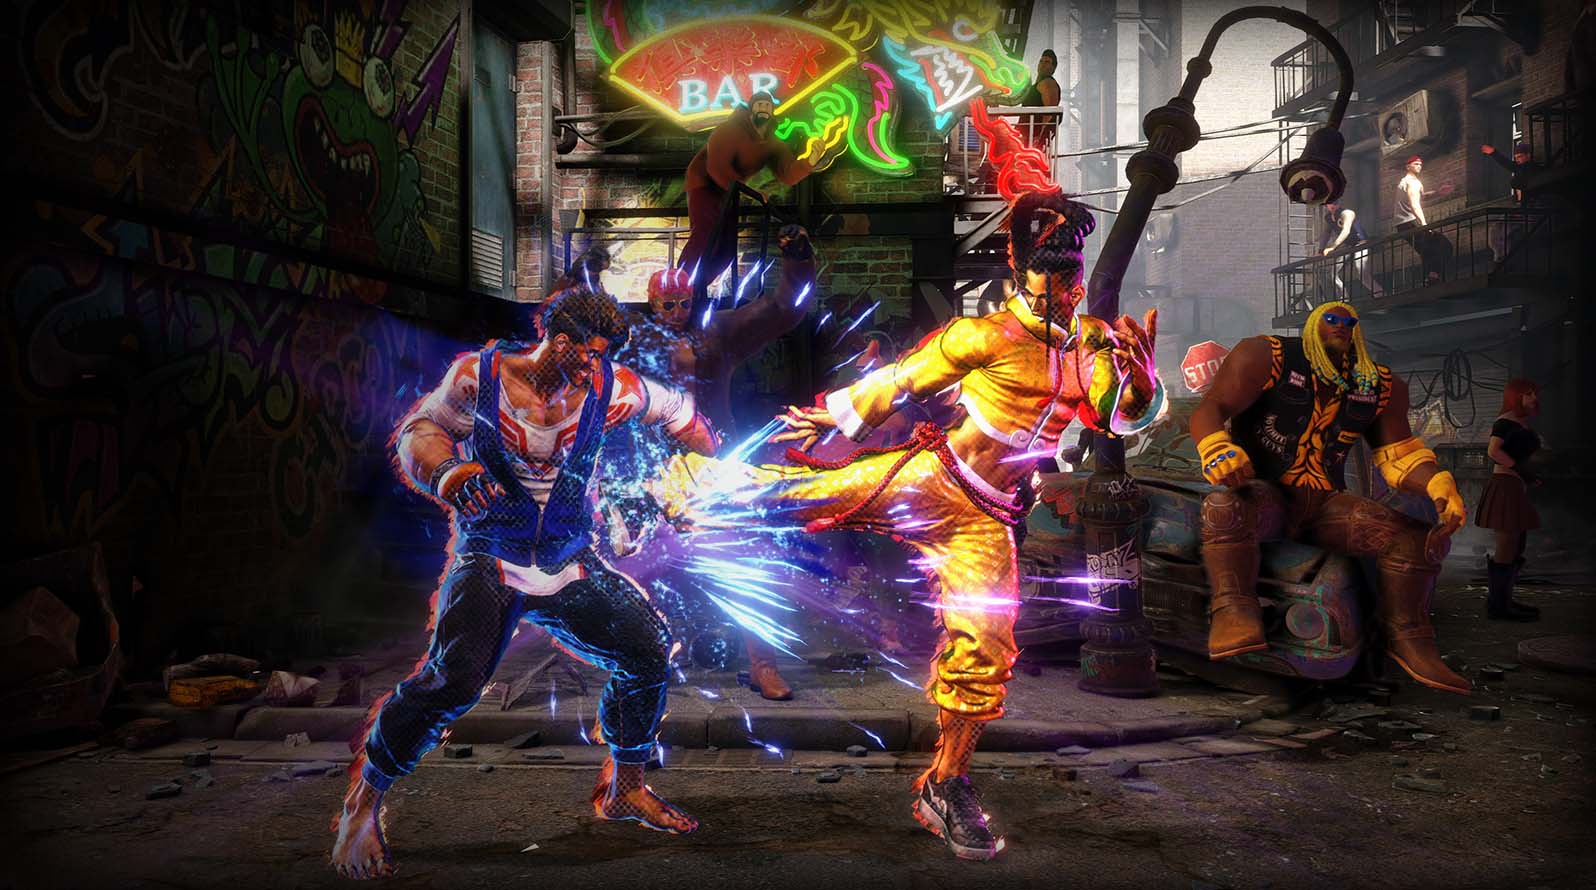
A parry stance, which slowly reduces the Drive gauge while it's active. Costs half a Drive bar. Parrying incoming attacks replenishes the Drive meter, and it also automatically parries multi hit moves while in effect. Drive Parries have recovery frames, and parrying too early causes a normal block, while still costing half a Drive bar. Taking a hit during the startup and recovery of Drive Parry causes the user to suffer a Punish Counter, though they are still able to block normally during recovery.
A Perfect Parry can be performed if an attack is parried within the first two frames of a Drive Parry's startup, causing a dramatic slowdown and paint effects, and a faster recovery that can allow the fighter to cause a Punish Counter to the opponent. They can also be performed against projectiles, with a fixed 11 frames of recovery on success. Punish Counters from Perfect Parries are scaled at 50% damage.
Regular Parry:
- Parries all strikes and projectiles (high and low) from frame 1
- Results in the same frame advantage as blocking the move
- Parry blockstun can be cancelled into Drive Reversal
- Pushback distance changes compared to normal blockstun:
- Projectile pushback reduced by 1/2
- Drive Impact pushback dramatically reduced (no stagger animation)
- Strike pushback is distributed evenly between each character, rather than just pushing the defender backwards
- If one character is cornered, the non-cornered character will receive all of the pushback
- Parry active window lasts 8f when tapped (can be held longer)
- Consumes 50 Drive per frame when held (200 frames = 1 additional bar consumed)
- After releasing Parry, you can block during the recovery frames
- Must still block highs/lows correctly
- Parry is useful for blocking high/low or left/right mixups, but remains vulnerable to throws
- Getting thrown during Parry results in a Punish Counter (+70% damage, Hard Knockdown, loses 1 Drive bar)
- Cancellable into Drive Rush from 3rd active frame onward
- Fastest DR input method is to tap forward, forward + Parry (6, 6+MP+MK)
- Rewards 5000 Drive (1/2 bar) for successfully parrying non-Super projectiles (including multi-hit projectiles)
- Some exceptions exist, like Kimberly double Spraycan (10000 total) or Guile Sonic Break (2000 each)
- Rewards 10000 Drive (1 bar) for successfully parrying Normals, Specials (including multi-hit attacks), or Drive Reversal
- Target Combos or Rekka strings count as separate attacks, so parrying them builds 1 bar for each hit
- Rewards 20000 Drive (2 bars) for successfully parrying Super Arts or Drive Impact
- This makes it significantly better than blocking, unless the Parry activation would put you into Burnout
- The opponent will also gain some Drive meter when their attack is parried, the same as if it was blocked
Perfect Parry:
- Occurs on the first 2 active frames; Parry cannot be buffered by holding it down, must be timed properly
- After successfully Perfect Parrying a strike, the screen freezes and zooms in, giving ample time to react with a punish
- This has only 1f recovery and prevents the opponent from cancelling their attack, allowing for guaranteed punishes
- Fully invincible for 6f after screen freeze, during which time you can cancel into anything except Drive moves
- Against projectiles, the screen does not freeze; puts you into 11f of fixed recovery
- During this 11f recovery, the character is Throw invincible, and any further strikes will automatically be parried
- Perfect Parrying projectiles allows you to hold the input for up to 13 frames without incurring the standard 29f of parry recovery
- Perfect Parrying a strike and projectile on the same frame will parry the strike, causing the screen freeze effect
- In general, Perfect Parry rewards you with the same amount of Drive meter as a regular Parry
- However, the invincibility period can cause some attack hits to whiff, while still only building partial Drive for the part that connected (e.g. Luke's charged Flash Knuckle)
- A 50% damage scaling penalty is applied to any punish after a Perfect Parry, even if you delay the followup beyond the 6f cancel window
How to do ?

 (consuming drive gauge)
Overdrive (EX Moves)

Overdrive is the third Drive Gauge choice you have. By pressing two of the same button type instead of one when performing one of your special moves you will turn it into an Overdrive Art. These Overdrive Arts are effectively EX moves from past games, powered-up attacks.
This is one of the more expensive attack types, costing two Drive Gauge Stocks to use it.
How to do ?
Depending characters. Press  or
or  while doing a special move
Drive Rush
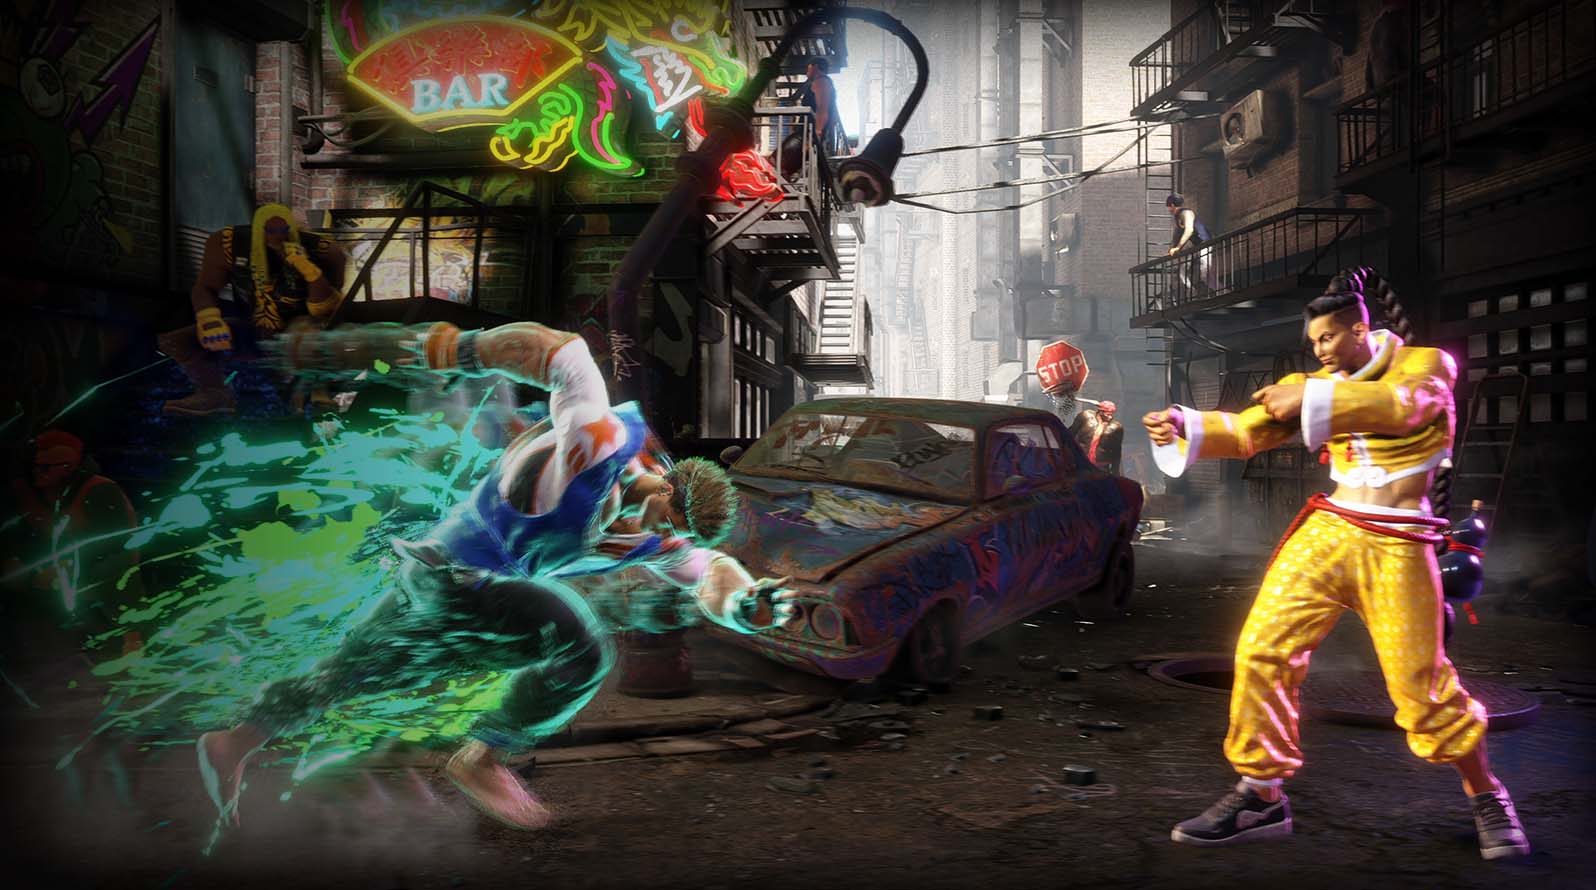
Drive Rush is a super powerful quick rush forward from a Drive Parry. It can be performed from a quick rush attack or a cancelable normal attack. It can help you close the gap on your opponent.
Drive Rush from a parry costs one Drive Stock, but from a cancelable normal attack, it costs three Drive Gauge Stocks.
How to do ?
DRIVE PARRY (consume 1 bar drive gauge)
while doing a cancelable move (consume 3 bars drive gauge)
Drive Reversal

A Drive Reversal is an incredibly valuable counterattack while blocking an opponent’s attack at the same time. This doesn’t do a whole lot of damage, but it helps you get out of tight situations or when you are being pressured.
Performing a Drive Reversal costs two Drive Gauge Stocks.
Street Fighter 6’s Drive Gauge System is a pretty major overhaul to what we had before and it involves a whole new level of meter management. Burnout can drastically harm your ability to fight during a round, so you want to avoid it at all costs and really use these attacks when they will be most useful. If you want to find the character for you when using this system, our Street Fighter 6 tier list has the rankings of all the characters.
How to do ?
Press while blocking
Drive Regeneration
The Drive meter automatically restores itself over time, but the rate it which it regenerates can change based on several factors. Recall that 1 Drive bar is 10,000 units of Drive meter, and that 1 frame equals 1/60 of a second.
The Drive Gauge works the same in Burnout, except that it must be fully restored before it can be used again. Landing your own attacks during Burnout builds some Drive meter, so playing offensively is a good way to reduce your Burnout time. Instead of taking Drive Damage to your meter when blocking, you instead build the same amount of Drive that the opponent builds for connecting their attack. When blocking a Super Art, you will instead build 1/2 the usual Drive Damage amount.