Tier List Rank
S Rank Characters

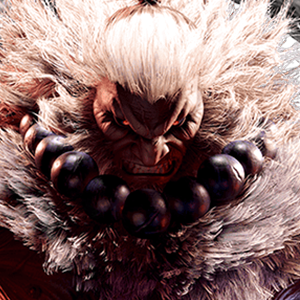
A demon of combat that has welcomed the Satsui no Hado into his being in his quest to become the ultimate master of the fist.
Akuma has an incredibly versatile toolkit, with strong, far-reaching normals and a high walkspeed to control space, multiple projectiles to force or shield an approach, and incredible corner carry to force his foes into the most dangerous of situations. He's especially good at maintaining his advantageous positions, with certain knockdowns leading to a potentially rewarding vortex that can loop back into itself. All this is counterbalanced by his lower health, a massive drawback that makes each mistake that much more costly and forces him to use each tool in his arsenal wisely to avoid inviting his own destruction.
While Akuma has the traditional shoto toolkit (fireball, DP, tatsu, shoto normals), he puts his own dark spin on them, encouraging peerless aggression. His Gou Hadoken has three vastly different speeds it can be fired at, and can be charged for additional hits. His fireball also has a unique air version called Zanku Hadoken, which can be used to counter DP attempts or set up for continued pressure. His Gou Shoryuken acts as a great combo ender and anti-air, with an OD version that leaves opponents close on hit. His Tatsumaki Zanku-kyaku goes through fireballs like Ryu's, but the heavy version goes into the air, allowing him to cruelly punish bad jumpins. What really sets Akuma apart from the other shotos is his signature Demon Raid. Upon pressing this special, Akuma leaps into the air and can perform a series of followups. He has an overhead, a low, and a divekick, and each option can leave Akuma plus. If opponents try to parry through the followups, Akuma can always call this out by landing and throwing them for a Punish Counter Throw. Demon Raid is an incredible special for allowing Akuma to get his gameplan started, and the OD version even allows Akuma to throw a fireball and counter attempts to stuff his approach. While Demon Raid is strong, it can be easily anti-aired on reaction, requiring Akuma to be very considerate with where he unleashes it.
In the neutral, Akuma leverages his shoto normals of 2MK, 5HP and 5LP/5LK to control space. His fast walkspeed and strong pokes give him a dominating neutral presence. He also has some strong command normals for counterpoking, including the powerful 6MK snap kick and 6HP lunging punch. Once he's gotten you in the corner, Akuma excels at a diverse and threatening offense. He has many ways to be plus, including his 5MP and 5HK, though the latter can be ducked and punished. Akuma can use his new Adamant Flame special to set up shimmys and crush your opponent's Drive Gauge. Successful hits can be brutally effective, as Akuma's combo game is very strong with excellent juggle points OD special extensions. His devastating Empyrean's End Level 2 super leads to combo extensions, and his Level 3 is easy to combo into, allowing him to pile on the damage. On top of all of this, Akuma also has an alternate CA called Shun Goku Satsu, a 0f comboable command grab that deals incredible damage when it connects. Truly, Akuma is the master of violence.
Akuma's low vitality is a genuine concern in this game, as he has 9000 health compared to the standard 10,000. This might not seem like a lot, but it is a noticeable con, as Akuma can be two-touched by most of the cast. While opponents may fear his rewarding and dominating offense, Akuma carries much risk in basic play. Opponents who find an opening or make a specific read can punish Akuma harder than anyone else in the cast, especially if they have a Level 3 charged up. Akuma lives and dies by the mastery of the person playing him. If you can pilot him well, he will reward your efforts tenfold. If you like offense-oriented characters and can stay calm on the razor's edge, then embrace the demon with Akuma.
Combos for Akuma
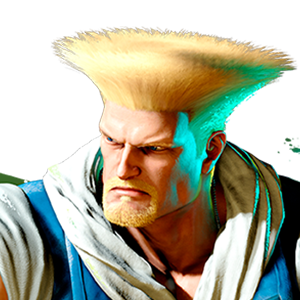
A long-time Street Fighter favourite, Guile is a tough-cookie to master, but his Super Arts are utterly deadly and difficult to predict, and he has the capability to successfully pin his opponents in the corner, making him a headache to overcome.
Combos for Guile
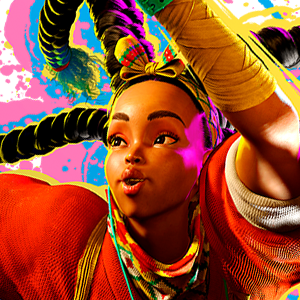
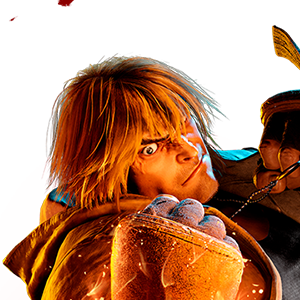
A newcomer and one of our favourites purely from a design perspective, Kimberly is a great option for newcomers because she's relatively easy to understand and an absolute beast in battle. Her easy to execute moves and rapid mobility make her a lot of fun to use, and difficult for opponents to deal with.
Combos for Kimberly

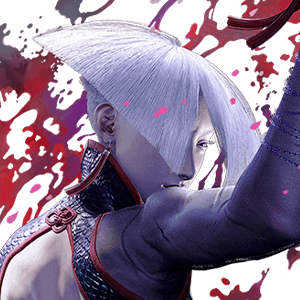
The successor of Shiranui-style ninja arts. A charming kunoichi who is as dedicated to love as she is to training. Loves cooking, Japanese dressmaking, flower arrangement, and traditional Japanese dance.
Combos for Mai

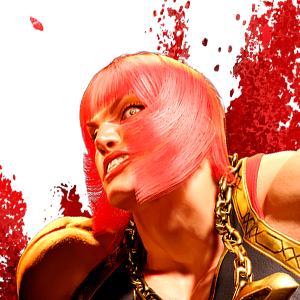
Manon's unorthodox, ballet-inspired combat style brings something very different to Street Fighter 6, but her grab moves in particular are unbelievably effect. Build up her Medal System by executing back-to-back throws and you can unleash some seriously devastating damage on your rivals, especially if you find a rhythm and start Overdriving those takedowns.
Combos for Manon
Marisa is another relatively easy to master newcomer who hits hard and has pretty unprecedented range. Her hard-hitting charge punches and wide-reaching kicks make her a real handful to deal with, and if you can catch an unsuspecting opponent off-guard, she has the power to utterly obliterate her rivals in a flash.
Combos for Marisa
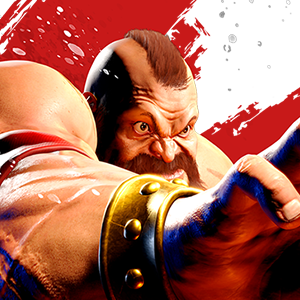
Zangief is a monster in Street Fighter 6, owing to his enormous amount of health and utterly devastating selection of grapple moves. While he does rely on close-quarters combat, he can be ridiculously difficult to deal with unless you're up against well-trained opponent. This does, however, mean that he's difficult to learn.
Combos for Zangief
A Rank Characters

A poison-wielding apprentice of F.A.N.G, the former Shadaloo officer.
Enchanted by the power of toxins, nothing brings her more joy than testing them on a new target—other than attention from her “master,” that is.
Combos for A.K.I
A young wrestler considered to be the next big thing. He debuted with his adoptive father Tom as his trainer, but was quickly made a heel due to his perceived surliness.
Combos for Alex
An operative belonging to a certain intelligence organization. A cold, hard realist. She complements her fighting abilities using a number of gadgets hidden in her outfit.
Returning from Street Fighter IV, C. Viper is a rushdown character with a wide array of tools to keep the pressure on. While she requires considerable execution and careful meter management to unlock her full potential, Viper's suite of safe special moves, feints, and full screen presence can pile on the opponent's mental stack, leaving them no room to breathe.
C. Viper's core gameplay centers around three special moves. Thunder Dash is a lunge attack combined with an anti-air for close range combos. Burning Kick is a flying kick that both knocks down on hit and while being safe (and even plus on block when used properly), while also being capable of crossing up when done in the air. Seismic Hammer is a low projectile that strikes from a set distance and launches on hit. While they may be useful, their extra functions serve as C. Viper's secret weapon. Seismic Hammer can be feinted during its startup, letting C. Viper psyche her opponent out and recover in time to react with a Heavy Thunder Dash, much like the typical zoner gameplan. Thunder Dash similarly can be feinted as a cancel option for damaging combos and tricky pressure. If that wasn't enough, C. Viper can follow up her Thunder Dash and Burning Kick at the cost of a Drive Gauge, turning stray hits into knockdowns with both Tracer Combination and Knuckled Pursuit, or further plus frames with Double Burn. Finally, C. Viper can pull out an old favorite in Focus Force, an armored counterattack much like a SFIV Focus Attack. While not as versatile as it used to be, Focus Force can absorb projectiles and counter strikes, and after a stun, can lead to tons of damage. All of these gadgets come together to make for a powerful kit.
However, C. Viper's greatest tool isn't up her sleeves, but on her heels with her High Jump, a jet-boosted leap that sends her flying across the screen in exchange for a bar of Drive Gauge. Nearly all of her grounded normals are cancelable into High Jump, on top of Seismic Hammer canceling into High Jump for a Burning Kick, letting C. Viper get in safely from a distance. Delving deeper, C. Viper can then cancel the early pre-jump frames of her High Jump into other special moves, leading to conversions such as her infamous Seismic Hammer High Jump Cancel loop, locking an opponent down so long as she has the Drive Gauge to keep it going, or her 5MK and 2MK going from simple pokes to potential combo starters. A savvy C. Viper can capitalize on any opening, forcing the opponent into her pressure game when they least expect it.
If all this Drive Gauge management ever feels like too much, C. Viper has one last tool at her disposal. Her Level 1 Super Art Limit Decoupler functions as not just a combo ender and reversal, but as an install as well. While active, all follow-ups and High Jumps can be used for free, letting her trademark offense loose and turning the next eleven seconds into her domain. When combined with a healthy Drive Gauge, nothing can stop a coiled viper from striking.
All of these fancy gadgets come neither cheap nor easy, however. It cannot be understated how vital execution and meter management are to C. Viper's playstyle, and without one or the other, Viper is left with only a handful of good pokes, a below-average Drive Rush, and limited opportunities. C. Viper in Burnout not only loses her universal options but her unique ones as well, and even her Level 1 install is cut down to a single usage of her Drive techniques. Knowing when to go wild and when to back off is crucial to success, lest you get caught on the back foot without any resources. If you feel the benefits are worth putting in the hours and can stay in control amidst a fast-paced environment, give C. Viper a call.
Combos for C.Viper

A faithful favourite for experienced and newcomers alike, Cammy's athletic playstyle is once again comfortably on display in Street Fighter 6. The acrobatic Brit is able to cover a lot of space, and unprepared players will struggle to deal with her overall mobility.
Combos for Cammy
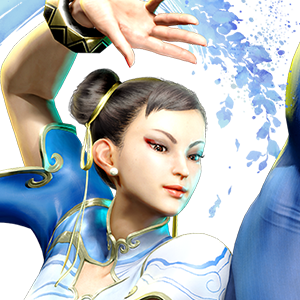
A Street Fighter stalwart, the only real thing that lets Chun-Li down is her high learning curve. With a powerful spectrum of moves, and an impressive amount of range, Chun-Li can be deadly — but only in the right hands.
Combos for Chun-li
A Psycho Power-wielding youth aged up rapidly by Shadaloo's experimentation, on a journey and a mission to free other subjects. He gets his short temper and foul mouth from Balrog, his former mentor.
Combos for Ed

A cheerful girl raised in the arms of the savannah, and a member of a clan of proud warriors. She has a talent for healing, and seeks to become a veterinarian.
Combos for Elena

A pretty, mysterious young girl who claims to travel through parallel worlds. Using a sort of crest and code, she manifests powers beyond the laws of the world. Talks like someone beyond her years.
Combos for Ingrid
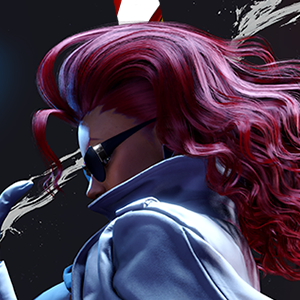
Newcomer JP looks like he should be giving skin fades to footballers in a high-end barber shop, but he's actually a very capable combatant, able to deal with opponents both at distance and in close-range.
Combos for JP
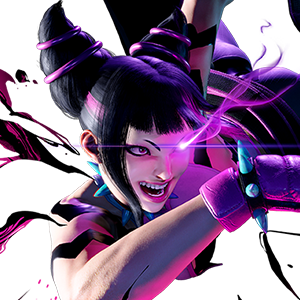
Another capable combatant with an emphasis on her thunder thighs, Juri's outrageous kick power and overall combo potential makes her a great pick, especially when you consider the obscene amount of damage she's able to unleash.
Combos for Juri
Ken is, as always, a pretty accessible and obvious inclusion in Street Fighter 6's roster. Despite having a similar playstyle, he's significantly less stiff than Ryu, and his overall agility and power can segue into devastating combos which will comfortably pin most opponents into the corners
Combos for Ken

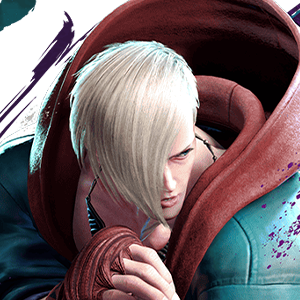
A man who resembles M. Bison, the leader of Shadaloo, who was believed to be dead. He has lost his memories, but has violent tendencies. He appears in locations related to Shadaloo, guided by Psycho Power.
M. Bison is a bully style character with oppressive special moves that can dominate the neutral, and powerful normals that make opponents think twice about contesting. He benefits from the system mechanics of SF6 more than most other characters - his iconic Double Knee Press (or Scissor Kick) is no longer a charge motion, and its strong frame data makes it a safe tool to pester opponents with when properly spaced. Drive Rush allows him to turn many of his errant hits into devastating combos, and OD Psycho Crusher is a fantastic anti-fireball tool that can beat many projectiles on reaction. His Hell Attack target combo (j.MP~j.MP) can punish poor jumps and leads to very high juggle damage on a successful callout.
Once he's in, Bison has excellent pressure normals such as 5HP or 4HK that let him maintain advantage and whittle down the opponent's Drive Gauge until they crack. A key skill for playing Bison is gauging your opponent's temperament; waiting for the moment they run out of patience, then swatting them down for daring to press a button.
While many of these strengths existed in previous iterations of the character, SF6 Bison has plenty of unique tools that bring him to another level. 6HP is an overhead that's on the slow side, but can easily catch opponents who've been conditioned to guard his plus-on-block normals. It even leads into a full combo when used from Drive Rush, giving Bison another layer of mixup beyond his usual repertoire.
Last but certainly not least is his new special, Backfist Combo, which implements the Psycho Mine from his SFV V-Trigger 2 into his moveset. Finishing combos with this attack leaves your opponent in a very dangerous position, as the mine explosion can either make certain moves safe (such as Psycho Crusher) or dramatically increase the combo damage off his more common starters. If his opponent makes the wrong guess, optimised Bison combos can absolutely shred their lifebar in one violent swing.
Bison's main weakness is that, like most dictators, he is much weaker when he isn't in control. He lacks an invincible OD reversal, and while his supers have some invulnerability a savvy opponent can thwart your escape with a meaty jab. If you find yourself on the back foot as Bison, you'll have to rely on patient defense and the system mechanics until you find another opening to exert your dominance.
If you want to control the pace of a match and make your opponent second guess every decision they make, give in to the Psycho Power and let M. Bison take the reins.
Combos for M.Bison
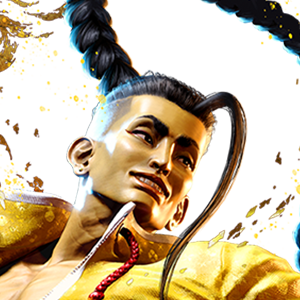
Rashid is a character with a unique focus on strong mobility options and unique "air current" projectiles. These air currents modify Rashid's movement when he passes through them while jumping or performing a special, affecting the way he chooses to approach his opponent.
Combos for Rashid

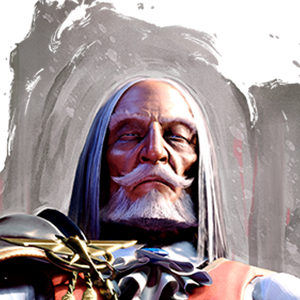
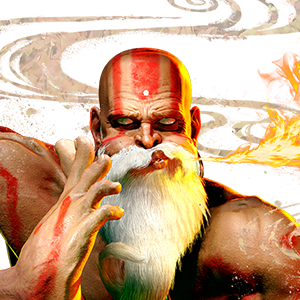
The Emperor of Muay Thai. He was once one of the highest ranking members of Shadaloo, but has since left the criminal organization. He currently lives deep in the mountains, focusing only on his training.
Combos for Sagat

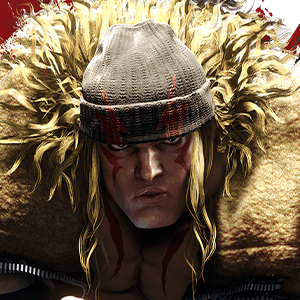
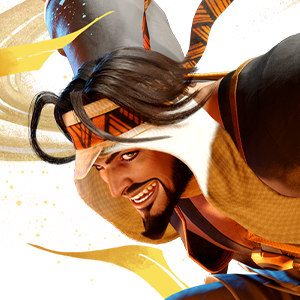
A passionate fighter that hones his craft as he travels all over the world. Also known as the "Hungry Wolf." He came to Metro City after hearing about the opening of the Pao Pao Cafe.
With great disjointed normals, a broad variety of target combos, and a set of well-rounded special moves, Terry's primary strengths are very similar to a standard shoto package with a few extra twists that make him particularly unique--his main goal is going for close-range pressure and spacing traps to either force errors out of the opponent or punish them for overextending in closer-range before going in and bringing home the big one.
Notable amongst Terry's normals are his medium buttons, as well as his 5HP. 5MP alone starts off several target combos, each of which have their own utilities--Power Drive knocks the opponent down on hit and pushes them back far enough for a spacing trap from another 5MP on block, Passing Sway lets him attempt to try a strike/throw mixup or a sideswitch on hit, and Power Shoot sets him up for a Power Dunk on a 5MP counter-hit. As a counterbalance, much more of his conversion potential is put on his 2MP, especially after a Drive Rush, due to its hitbox, speed, and hitstun; his 5MK and 2MK, by comparison, are among his longest buttons, with 2MK featuring a special-cancelable Target Combo in Fire Kick and 5MK serving as an excellent poke that links into his fast and punishing SA1, Buster Wolf, on counterhit. 5HP is a two-hit normal that serves as one of his primary setups for juggles from other special moves, as well as being a huge threat from Drive Rush.
As far as special moves go, Terry has his pick of several versatile ones. On the projectile front, Power Wave and Round Wave are a pair of unique fireballs with different use cases. LP Power Wave travels on the ground much like Juri's enhanced Saihasho does, enabling it to sneak under higher projectiles and hitboxes, while MP Power Wave loses a bit of range in exchange for clashing with regular fireballs and OD Power Wave is a multi-hit projectile that's great for pressure and approaches; Round Wave eschews a projectile entirely, keeping the fireball clash property, and serves as a fireball bait from further away and a powerful pressure and okizeme tool up close. Quick Burn and Burn Knuckle are similarly divided in use--whereas Quick Burn allows Terry to break open opponents at close range with minimal risk when properly spaced, Burn Knuckle is a fast gap-closer (especially when spaced for safety) and a great corner carry tool during juggles. Power Charge allows Terry to set up both loops and juggles from anywhere on screen depending on which version he uses, while Crack Shoot is an excellent low crush, even hopping over projectiles when the HK version is used; Rising Tackle rounds out his kit with a standard DP. Terry also has a unique SA2, Power Geyser--not only is it a powerful anti-air tool, it can be extended into Double Geyser by spending 3 Drive Bars, and spending an additional Super Gauge on top of that turns it into Triple Geyser, which can potentially do more damage than even using his standard SA3, Rising Fang.
The main drawbacks to playing as Terry mostly deal with the speed and range of some of his other normals and how they affect his gameplan. Because 2MP is the only medium normal that Terry has that's 6 frames, and due to the lighter hitstun on his 5LP and short range of his 2LP, some of Terry's conversions are either short or awkward without spending Drive Gauge, getting a counterhit, or otherwise staying at very specific positioning. Similarly, while his medium and heavy buttons are quite disjointed, it is very easy for Terry to find himself outmatched in a poking war if he is too careless with where he places them, since many of them are a bit slower by comparison to other moves.
If you want a character who excels at close-mid range pokes, pressure, and punishes, and can crack open opponents with savvy street style, pick Terry and bust some wolves.
Combos for Terry
B Rank Characters

Dhalsim's elasticated appendages give him the kind of range other characters could only dream of, and his ability to teleport around the stage makes him a tricky customer to deal with. But he doesn't have quite the damage output to put him on par with other characters, and thus demands a more technical approach.
Combos for Dhalsim

Sumo wrestler Edmond Honda is a human headbutt machine in Street Fighter 6, and despite his size, he's a surprisingly mobile combatant capable of getting around the screen quickly.
Combos for E. Honda
Jamie's drunk and disorderly fighting style certainly brings a unique gimmick to his moveset, but he relies heavily on glugging from his bottle, and that makes him a needlessly complicated character to master. If you can get down enough alcohol then you'll be able to deal some real damage, but if your opponent is able to successful stop you from drinking, then you're ultimately going to come unstuck.
Combos for Jamie

Luke's not massively dissimilar to Ken and Ryu in terms of playstyle, but his long-distant punches give him a bit more personality and power than the two series icons. He's able to successfully pin opponents and is a good option for beginners, but we're not convinced he's cut out to be the cover star.
Combos for Luke

You can't really have a Street Fighter game without Ryu, and he's certainly not bad in his latest incarnation. He's here, in familiar form, in Street Fighter 6, and he's an easy to understand option. The problem is, for our money, Ken is the better of the two iconic characters.
Combos for Ryu
C Rank Characters

Despite his size, Blanka does have pretty great mobility, but he relies on his Blanka-chan gimmick to serve meaningful damage, and so you'll need to have luck on your side if you intend to dominate as the flame-haired Brazilian.
Combos for Blanka
Cool as a cucumber but a bit of a perennial loser, Dee Jay is far too one-dimensional to overcome a more skilled and mobile opponent. While he does have a couple of powerful tools in his arsenal, he fails to measure up to some of his admittedly less-cool adversaries.
Combos for Dee Jay

Arguably the easiest character to pick up in Street Fighter 6, tribe member Lily sadly doesn't have the same combo potential upside as her newly introduced peers.
Combos for Lily